
Get started
A step-by-step setup runbook for a Jira administrator installing Nexus, and for the first tester who creates and runs a test. Follow it top to bottom on a new project — the same checklist Nexus Setup itself walks you through.
Get started
Install Nexus, provision one project, and run your first test — in about fifteen minutes.
Before you start
You'll need:
- A Jira admin for steps 1–2 and the project-provisioning parts of step 3 — Nexus Setup asks Jira to create issue types, workflows and a project role, which needs admin-level permission the first time.
- A pilot project to provision first. Any company-managed or team-managed software project works; Nexus can also create a sample project for you if you don't have one yet.
- (Pro only) an API key from Anthropic, OpenAI, Google, Moonshot Kimi or xAI Grok if you plan to turn on AI requirement analysis and test generation. Basic has no AI and needs nothing extra — every other feature works without one.
Basic is free for up to 10 Jira users. Pro is US$9/month for up to 10 Jira users, with licensing and billing handled by Atlassian Marketplace.
The whole checklist, in short
- Install Nexus, then open Nexus Setup from the Apps menu and press Create now.
- Finish every row until the health check is green, then add Nexus's three work types to your pilot project.
- Open Test Hub, create one Test Case, link it to a requirement, and mark it Ready.
- Add it to a Test Set, create a cycle, and complete one Test Execution.
1. Install Nexus
Install Nexus on your Jira Cloud site from the Atlassian Marketplace listing, the same way as any other Jira app. During install, Jira shows you the permissions Nexus asks for — read/write access to Jira work items, plus a configuration scope it uses only to provision its own issue types, workflows and project role. Nexus asks for nothing broader than that, and (on Basic) sends nothing outside Atlassian.
Installation finishes in seconds. Nothing is provisioned on any project yet — that's step 2.
2. Run Nexus Setup
Open the Apps menu → Nexus Setup. The Setup Checklist page is the one-time, site-wide half of provisioning — issue types, workflows, schemes and roles for company-managed projects, plus optional sample data. Press Create now and work down its rows; each has a live check and, where Jira allows it, a one-click fix. Re-running it later is always safe — it's idempotent, and adopts whatever already exists rather than duplicating it.
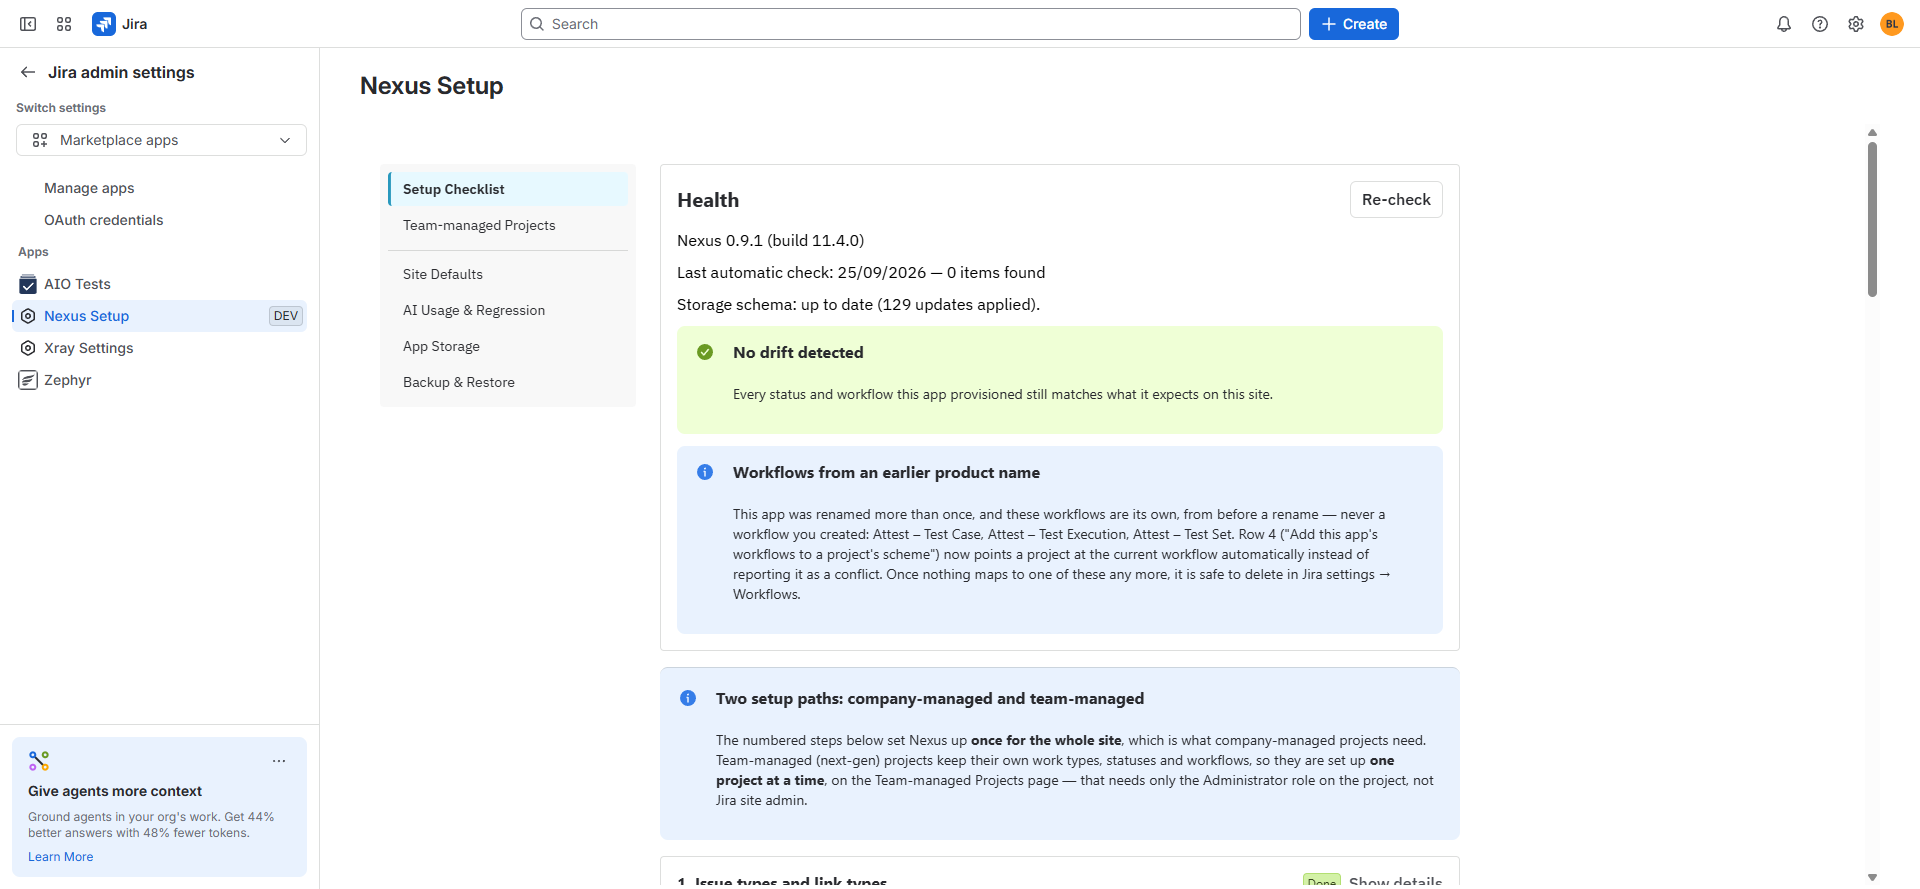
Team-managed (next-gen) projects are different — they keep their own work types, statuses and workflows, so Nexus sets each one up individually rather than once for the whole site. If your pilot project is team-managed, skip to step 3; the Setup Checklist page doesn't touch it.
3. Add Nexus to a project
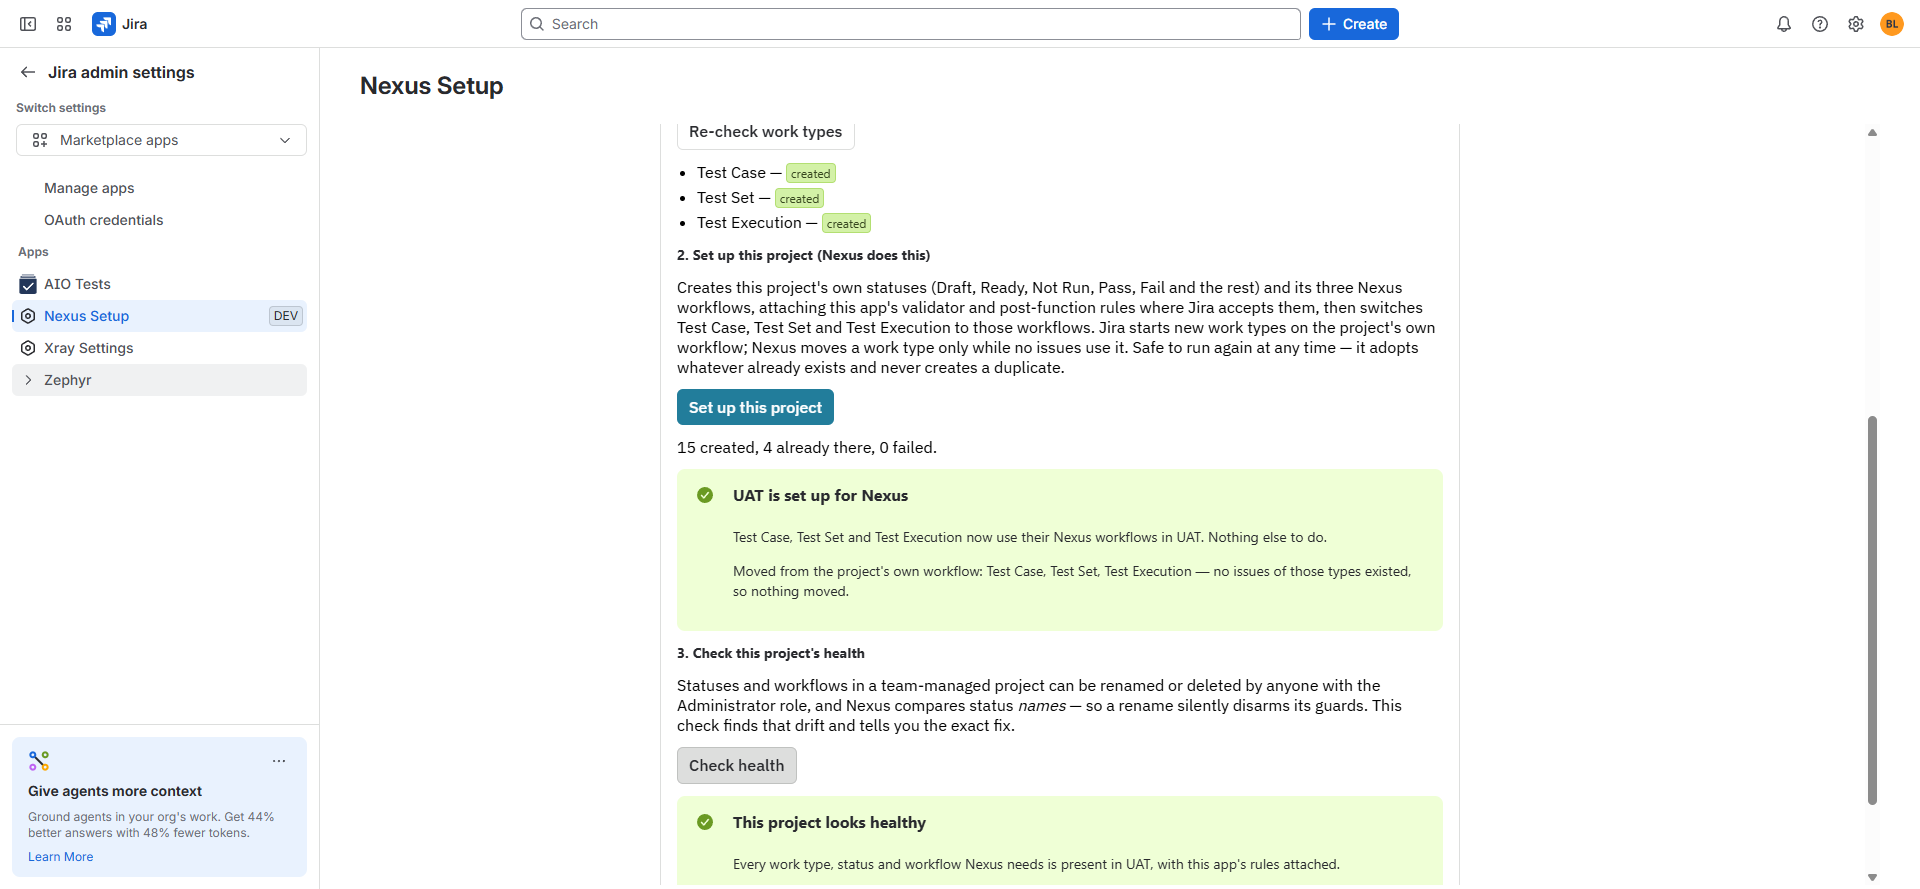
For a team-managed project (the common case — most new Jira Software projects are team-managed by default), open Nexus Setup → Team-managed Projects and choose your project. This page walks you through exactly three actions:
- Create the three work types yourself, in Jira. This is the one step Jira gives no API for. In the project: ••• → Project settings → Work types → + Add work type → Create work type, and create all three with these exact names: Test Case, Test Set, Test Execution. Create them as standard work types, not sub-tasks. Back on the Nexus Setup tab, press Re-check work types — each one shows created as Jira catches up.
- Set up this project. One button. Nexus creates the project's own statuses (Draft, Ready, Not Run, Pass, Fail and the rest) and its three workflows, attaches its validator and post-function guard rules, and switches the three work types onto them. Safe to press again at any time.
- Check this project's health. Confirms every work type, status and workflow Nexus needs is present and correctly wired, and calls out the exact fix if a status or workflow was later renamed.
For a company-managed project, the same outcome comes from the Setup Checklist rows in step 2 (workflow scheme mapping, then issue type scheme) — pick your project in each row's picker, confirm the "what will this change" summary, and apply.
Either way, a project administrator who isn't a Jira admin can do the same thing from inside the project itself: Test Hub → Project Settings → General Preferences → Add Nexus work types, no site-admin access needed.
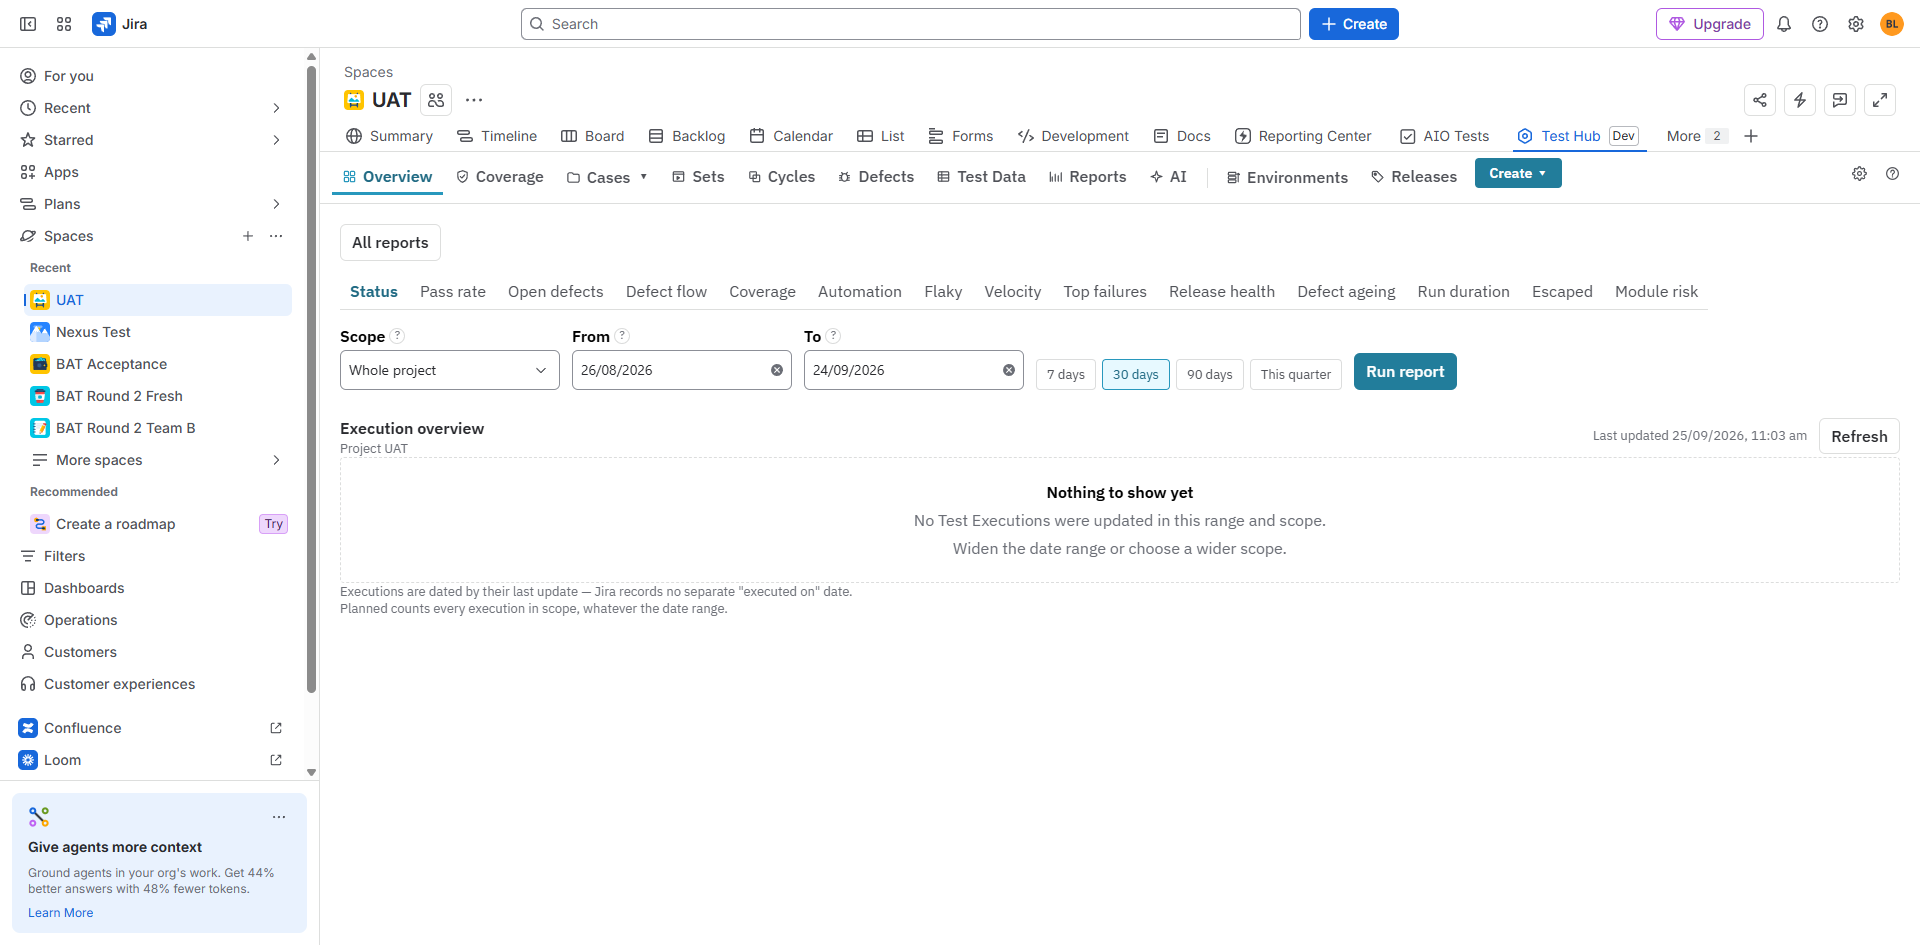
Once the project is set up, add your testers to the Test Designer, Test Executor and Approver roles (Project settings → People, same as any other Jira project role). These are what the workflow guard rules check — without them assigned, nobody can mark a test Ready or record a result.
Decide a few project rules before the team starts. In the Nexus tab, Project Settings holds settings that are easier to agree on day one than to change later. All are off, or keep today's behaviour, until you change them:
- General preferences → Test case folders → Folder required: every test case created in Nexus must go into a folder.
- General preferences → Execution behaviour: assign a run to whoever records its result, and whether a failed run counts as done.
- General preferences → Bugs Nexus creates: priority, assignee, components, labels, summary template and description header text for the Bugs Nexus raises.
- People → Restrict @mentions to project people: limit who can be @mentioned in Nexus comments to the people in the project's roles.
4. (Pro only) Connect your AI account
Skip this step entirely on Basic — every other feature already works.
On Pro, open Nexus Setup → AI and connect one API key for the whole site, from Anthropic, OpenAI, Google, Moonshot Kimi or xAI Grok. Pick a model. Nexus uses your account and your terms; it never bills you for model usage and sets no usage cap of its own. Your AI provider's own limits and billing apply.
Review AI findings and generated test cases before accepting them into Jira.
5. Understand the test design your team will use
Before creating your first test, decide which design fits: a step table (action,
data, expected result per step), Gherkin/BDD (Feature and Scenario text, exportable
as .feature files for Cucumber), a checklist, or free text for a quick
narrative case. You can mix designs freely across a project — this is a per-test-case
choice, not a project setting.
6. Create your first test
- Open Test Hub on your pilot project and create a Test Case. Give it steps (or
Gherkin, or a checklist — see step 5), and link it to the requirement it tests using
the
Testslink type. - Mark it Ready — the guard rule confirms every step has an expected result before it lets you.
- Add the case to a Test Set, then create a cycle from that set.
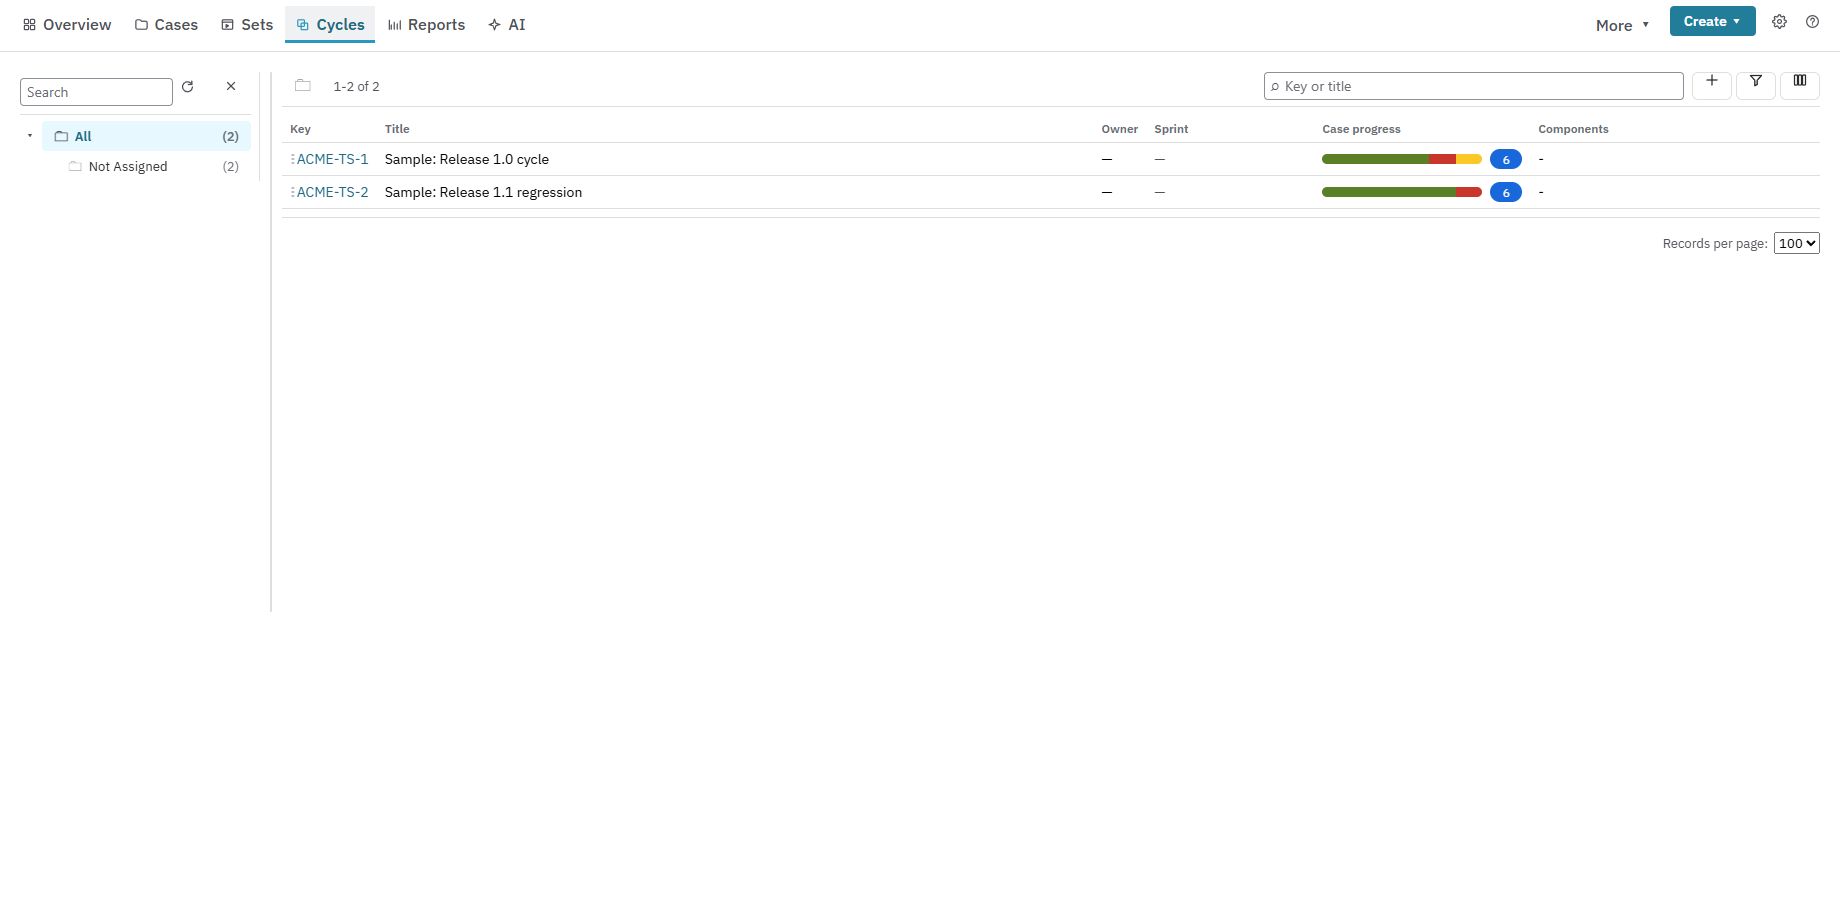
- Open the Test Execution and run it: work through the steps, record actual results, and attach evidence as you go. Marking a step Fail prompts you to create a linked defect on the spot — a real Jira Bug, already linked back to the execution.
That's a complete requirement → test → run → evidence loop, the same one Nexus uses for every test in a project from here on.
7. Connect CI results (optional)
If your team already runs automated tests in GitHub Actions, GitLab CI, Jenkins, Azure Pipelines or Bitbucket Pipelines, you don't need to record those results by hand. In the project's Nexus tab, open Project Settings → CI, create an API key, and send your results file to the results URL shown there — one API key, one URL, no other configuration. The key is shown once, so store it as a secret in your CI system.
To skip writing the upload step yourself, download a ready-made helper from the integrations page: a Playwright reporter, a pytest plugin, a GitHub Action, or the nexus-upload command-line tool for any CI system.
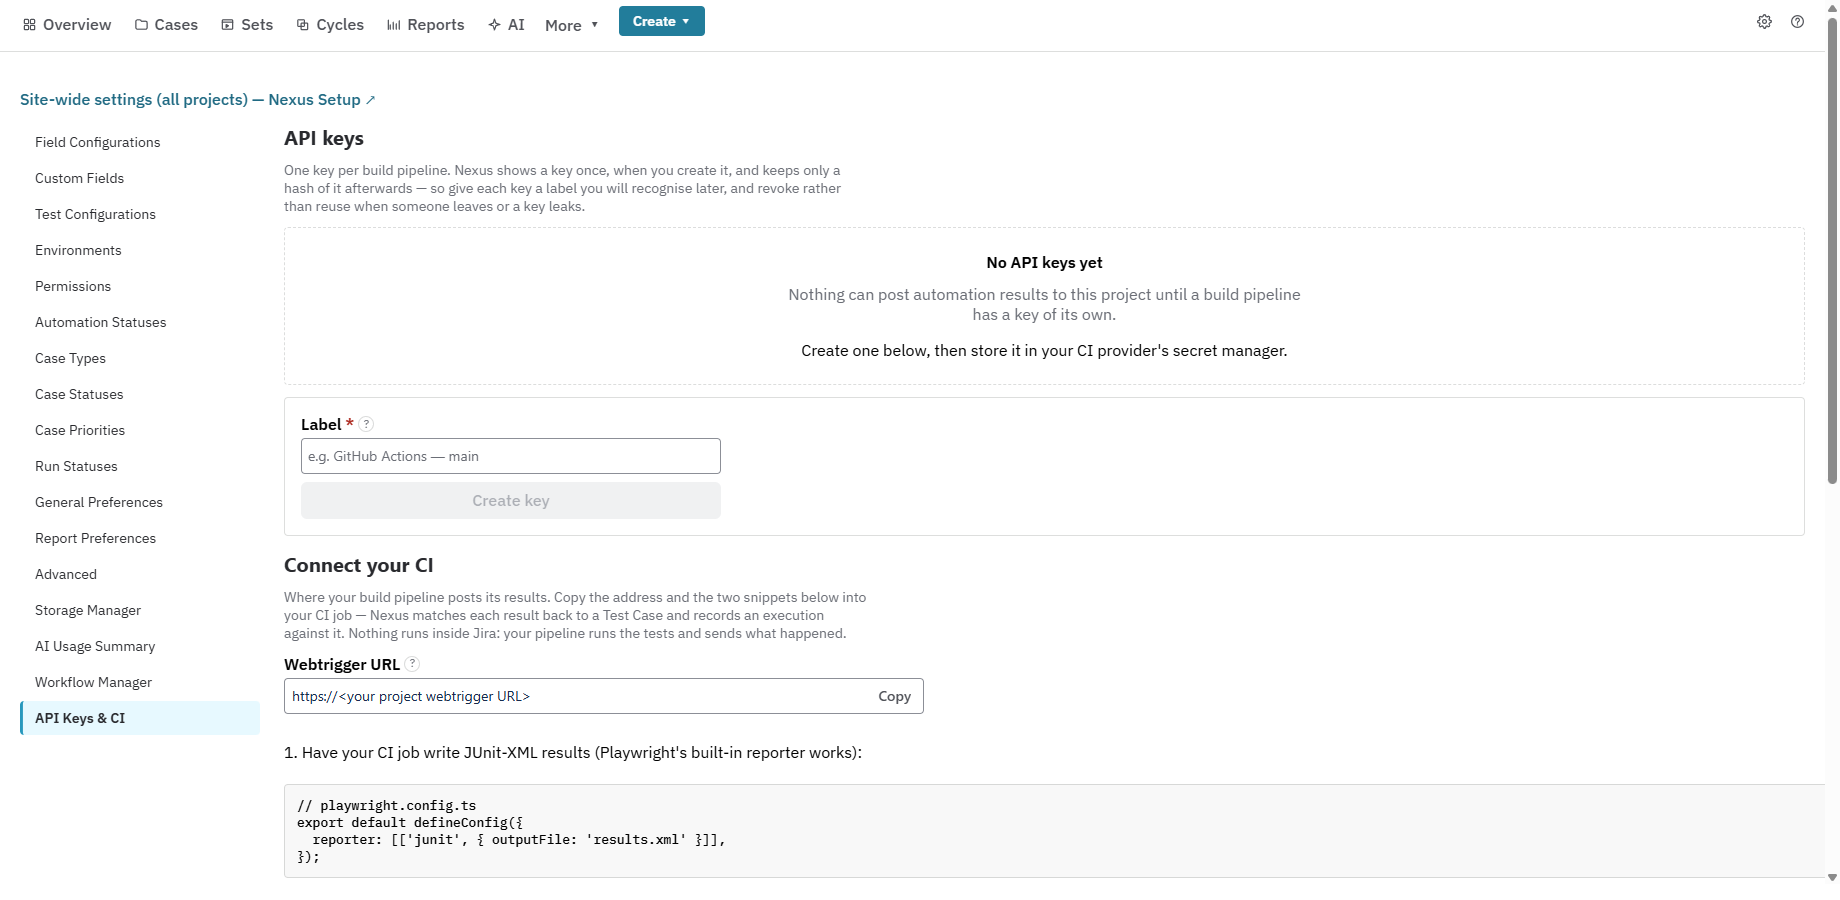
Automated tests always run on your own systems — Nexus only ever receives the results
file afterward, matched to the right Test Case by a stable Automation Key in the test's
name (for example NEX-12: login works). See the CI guide for the exact snippet for your
pipeline.
8. Add reporting and dashboards
Once you have a handful of executions recorded, add a Nexus gadget to a Jira dashboard (Coverage Status, Test Execution Status, Requirement Quality or Burndown), or open the report gallery from the Nexus tab to see the available reports — traceability, defect trend, workload by tester, test-case ageing and coverage by version, among others.
What's next
You've installed Nexus, provisioned a project, and run one test end to end. From here:
- Read the product guide for the full detail on test design, reuse, model-based testing, planning and reporting.
- Read the CI guide to wire up automated results from your existing pipeline, or download a helper from the integrations page.
- Repeat step 3 (add Nexus to a project) for every other project your team tests in — everything else in Nexus Setup is a one-time, site-wide checklist.